How to build a thriving deck vegetable garden

Sometimes, creating an in-ground vegetable garden or a raised-bed garden is impossible. Thankfully, even if you live in a high-rise apartment, homegrown vegetables and herbs can be easily grown on a patio or deck. Tomatoes, potatoes, cucumbers, and other vegetables can be grown in large containers with minimal effort. Nothing tops the convenience of waking up in the morning and snipping off some herbs for your morning breakfast, either.

By following our tips and tricks, you can grow almost anything with a deck vegetable garden.
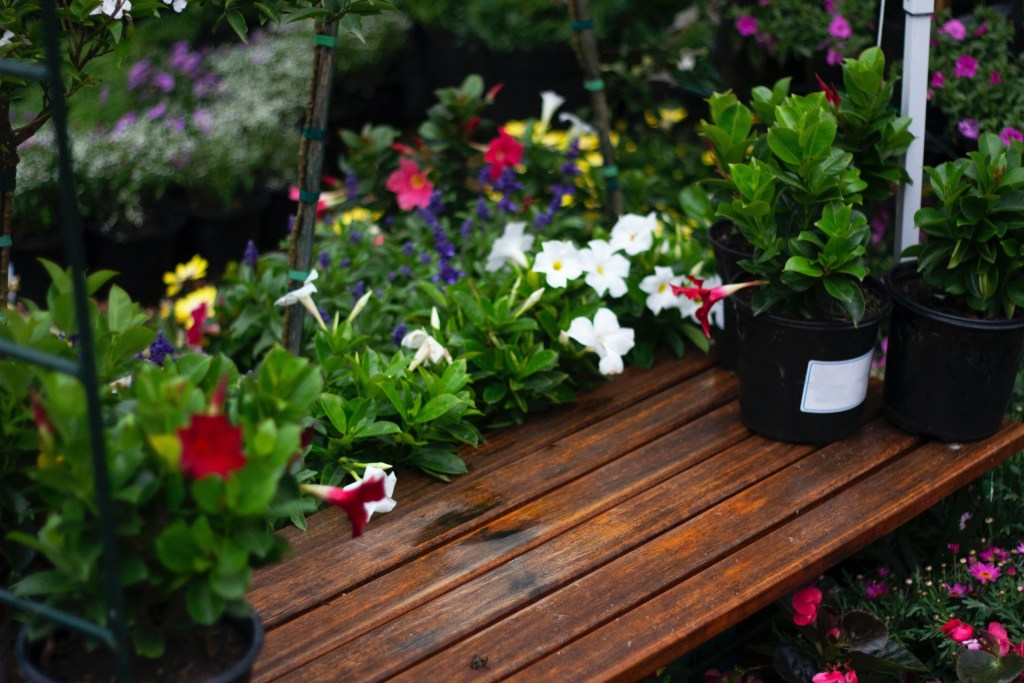
Flowers Sitting On a Deck
Photo by Joshua Naidoo/Unsplash

Reasons to grow vegetables on your patio or deck

There are many reasons to grow plants and vegetables on your deck or patio rather than in a garden:

  1. More light. Putting your plants on a patio or deck raises the elevation, meaning that even in a cloudy region, the plants will receive more sunlight compared to the ground. More light means the plants will grow better.
  2. Fewer weeds and bugs. When you raise your plants up by creating a deck garden, pests like slugs, snails, squirrels, and maybe even rats will have a harder time finding vegetables to eat. Also, the chances of weeds growing around your plants will be very low because potting soil is usually free of weed seeds. Don’t be surprised if a few end up in your pots because of the wind. Only a few things are certain in life: taxes, death, and weeds.
  3. Less water is used. While it is true that in the short term vegetables grown in a container need more water, it is easier to see how much water they need, which saves water in the long run.
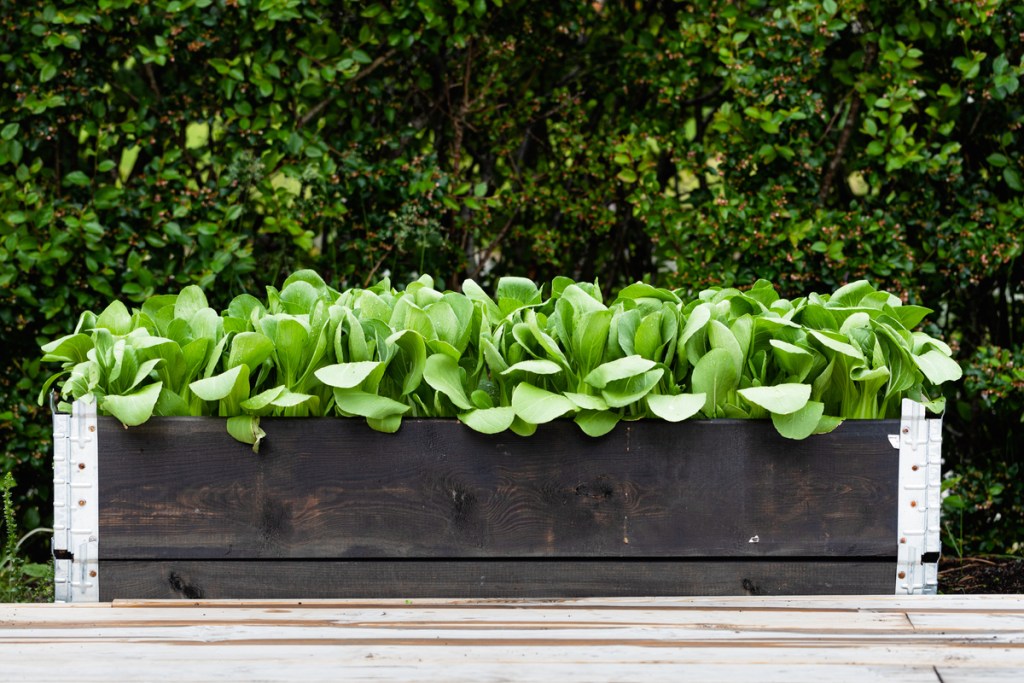
Vegetables growing in raised garden in box
Image used with permission by copyright holder

How to create a deck vegetable garden

Buy proper containers

When it comes to creating a deck vegetable garden, the bigger the containers the better. Large containers will hold water for a longer time and allow the plants to create bigger and stronger root systems. If you are the crafty type, or just don’t want to spend a lot of money, you can recycle materials like wine boxes or food totes with holes drilled or cut in the bottom to use as containers. Whatever you use, make sure that the containers are food safe. If you want something fancier, consider cedar or fiberglass planters. These last for years, although they are more costly. Finally, while ceramic and terra-cotta planters are inexpensive and classic options, they dry out quickly and are prone to cracking in the winter.

Recommended Videos

Buy proper soil

Any potting soil at your local gardening store won’t work. Container gardens require a specially designed potting mix, specifically blended to hold water and be lightweight. Choose the highest-quality and organic potting mix. If you care about the environment, try to find a peat-moss-free mix as peat moss is a nonrenewable resource. After you plant your vegetables in the soil, add a sprinkle or slow-release organic fertilizer when you plant them then, every month, add liquid fertilizer designed for vegetables.

Protect your plants

The higher your vegetable garden, the more susceptible it is to the elements, such as rain, snow, wind, and high heat. However, you can take advantage of resources that are already around your deck such as roof overhangs, umbrellas, and railings to shade and protect your plants. Some planters can be moved so don’t be afraid to more your garden if need be. Pro-tip for upcycling: The plastic containers that commercial salad mixes come in are perfect for shielding plants.
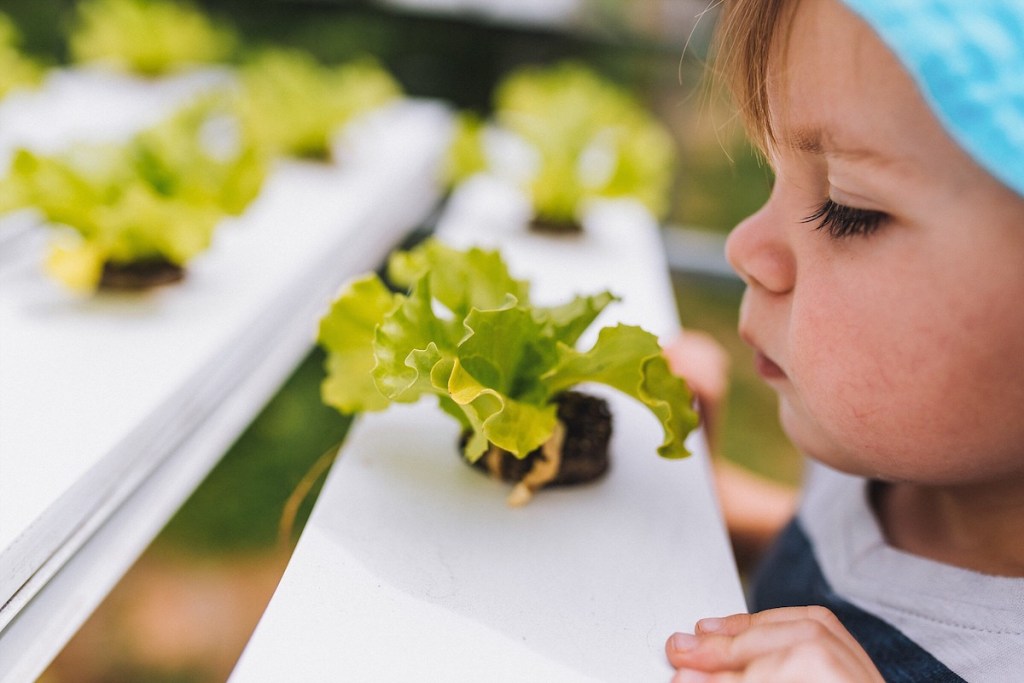
indoor plants
Reshot

Tips for growing your vegetables

  1. Do not overcrowd your vegetables. Whether you are growing plants in a lawn garden, inside an apartment, or on a deck, one of the most common reasons for plants dying is overcrowding. Planting vegetables close together leads to competition for resources and soil space which can cause tight roots.
  2. Don’t forget to water. This may seem like an obvious statement; plants need water, obviously! However, crops grown in containers need more frequent watering than plants grown in the ground or in raised beds. Your soil should be moist, but not soggy with no water pooled at the top. Simply stick your finger in the soil and if the soil half-an-inch to an inch deep is dry then it’s time to water. The best time is early morning before the sun gets too high in the sky.
  3. Feed your soil. While your plants will grow just fine with lots of sun and water, you can supercharge the growing process by adding a sprinkling of slow-release organic fertilizer at the time of planting, following up with liquid fertilizer once a month made for vegetables.

Final thoughts

Thankfully, creating a deck vegetable garden is not that much harder than creating a regular garden or raised bed. The positives outweigh the benefits, including the plants getting more light, dealing with fewer pests, and easy access to plants right outside your home. By following these tips, you will have a deck vegetable garden built in no time.
Niko Vercelletto
Former Digital Trends Contributor
Niko Vercelletto lives in Lansing, Michigan. He is passionate about going into depressive spirals thanks to the Detroit Lions…
3 of the best solar garden lights for a bright and eco-friendly yard
outdoor sitting with lights

It's important to decorate your garden with stunning flowers and veggies, but it's also vital that your garden be well lit. Whether for parties, late-night harvesting, or quiet nights reading in the warm summer air, solar lights make a fantastic addition to any garden. They can transform a backyard into a cozy after-dinner area, light up a walkway for safe navigation, or bring attention to a favorite tree. Here we'll be going over the essential considerations to keep in mind while shopping for solar garden lights. We'll also include a few of our favorites you might want to add to your landscaping.

What to consider when buying a solar garden light
Not all solar garden lights are created equal; there are a few things you'll want to keep in mind.
Cost
The cost is one of the most important aspects of purchasing a new item for almost everyone. Although solar garden lights are very similar in price, it's still crucial to consider how much you're willing to spend on lights before you go looking. Having a better idea of your budget will help you find the ideal solution.
Ease of install
If you need something easy to put up for a party this weekend, you won't want to buy a setup that'll take hours to put together. Instead, finding a solar light that's easy to install will make life easier and allow you to get back to doing other things like gardening!
Lifespan
Outdoor products never last as long as their indoor cousins, so it's not surprising to find that solar garden lights have a shorter shelf life than other indoor lights. However, this doesn't mean you should have to replace your garden lights every year or bring them in during the winter. Instead, look for a light that can withstand the types of weather you often see and be sure to care for the light properly so it can last a long time.
Aesthetic
Of course, you should like the way your new lights look! If they don't suit the aesthetic of your garden, you'll likely be disappointed and tempted to go looking for other options. So be sure you're looking for a light that's going to suit the rest of your garden, or at least blend in and not take away from your garden ornaments.
MAGGIFT Solar Pathway Lights
These pathway lights by MAGGIFT are ideal for lighting the way during the darker hours of the day. Whether it's the path from the driveway to the house or the deck to the flower garden, these lights will soak up sun rays and provide you with plenty of light to see your way.

Read more
When and how to transplant tomato plants for the best results
baby tomato plants

There's a time in every gardener's life when they try to grow their own veggie plants from seed. This is a gratifying process, and there are many benefits to growing your own seed starts. One of those benefits is bigger and healthier plants. By growing your own baby tomato plants, you can ensure that the plants are well cared for, never given anything you don't want them to have, and transplanted in just the right way at just the right time for optimal plant health. So how do you transplant tomato plants to ensure they're happy and healthy and live to produce lots of yummy tomatoes for your home?

How do you transplant a grown tomato plant?
If you've never transplanted tomatoes before, the idea can be intimidating. You have all these tiny plants that you've cared for over the last several weeks, and now it's time to pluck them out of their nursery pots and plop them into the outside soil where they're exposed to sun, weather, and critters. Luckily, you've cared for them so well that they're healthy and robust plants that will be able to handle anything nature throws at them.
Step one: Harden the plants
Hardening the plants is a term gardeners use when talking about the process of acclimating a greenhouse-grown plant to outside conditions. Typically it refers to sunlight, but it could also refer to wind and other weather that could harm the plant. About a week before you're ready to transplant, you'll want to harden your baby tomato plants by exposing them to sunlight at increasing increments each day. For example, day one should be about 30 minutes, then 45, then 50, and so on until the day of transplanting. If you don't do this, you'll risk your plant being burnt and killed when you transplant it outside.
Step two: Don't water the plants
Before you start pulling little plants out of their pots, you mustn't water the plants a few days before transplanting. Wet soil can make the transplanting process much harder on you and the plant. Dry soil falls away easier and is less likely to break off roots as you move the plants to their new home.
Step three: Prepare the new soil
The new location for your tomato plants will need to be prepped before you get all those babies out of their homes. Whether you are planting into the ground, a raised bed, or a pot, you'll want to amend the soil to guarantee that the plant has many nutrients to soak up. It also is easier if you dampen the soil right before transplanting. Damp soil is much more manageable and more easily manipulated around the plant.
Step four: Plant deeply
As you gently pull out the baby tomato plants, you'll want to shake off the old soil to expose the roots. This will ensure the plant has access to the new soil and nutrients you're about to provide it with. 

Read more
What you need to know about successfully growing summer squash in containers
container summer squash man cutting

You can roast it, you can sauté it, you can slice it, and you better believe you can dice it. Summer squash is chock full of important vitamins and minerals, so it’s delicious and nutritious. But if your garden is running out of real estate, have no fear. There’s no reason you can’t grow squash in a container. Although summer squash requires a not-insignificant amount of TLC, it’s more than worth it for lovers of this agreeable fruit (and yes, it is technically a fruit). Here’s a complete guide to everything you need to know.

Picking the right squash for the job
As many gardeners know, summer squash does not describe a specific species but rather the timing of the harvest. Yellow squash are harvested earlier in their life cycle, when the outer rind is still edible. No need to peel!

Read more